
DM Quick Start
1. Install
Section titled “1. Install”Install and enable the module. See Installation and Settings.
The module adds:
- A Spell Book button on the Spells tab of actors with a spellcasting class, or with spells granted by a species or feat.
- A button on group actor sheets with spellcasting members that opens the Party Coordinator.
- A Spell List Manager button in the Compendium sidebar footer, shown to GMs only.
2. Open the Spell List Manager
Section titled “2. Open the Spell List Manager”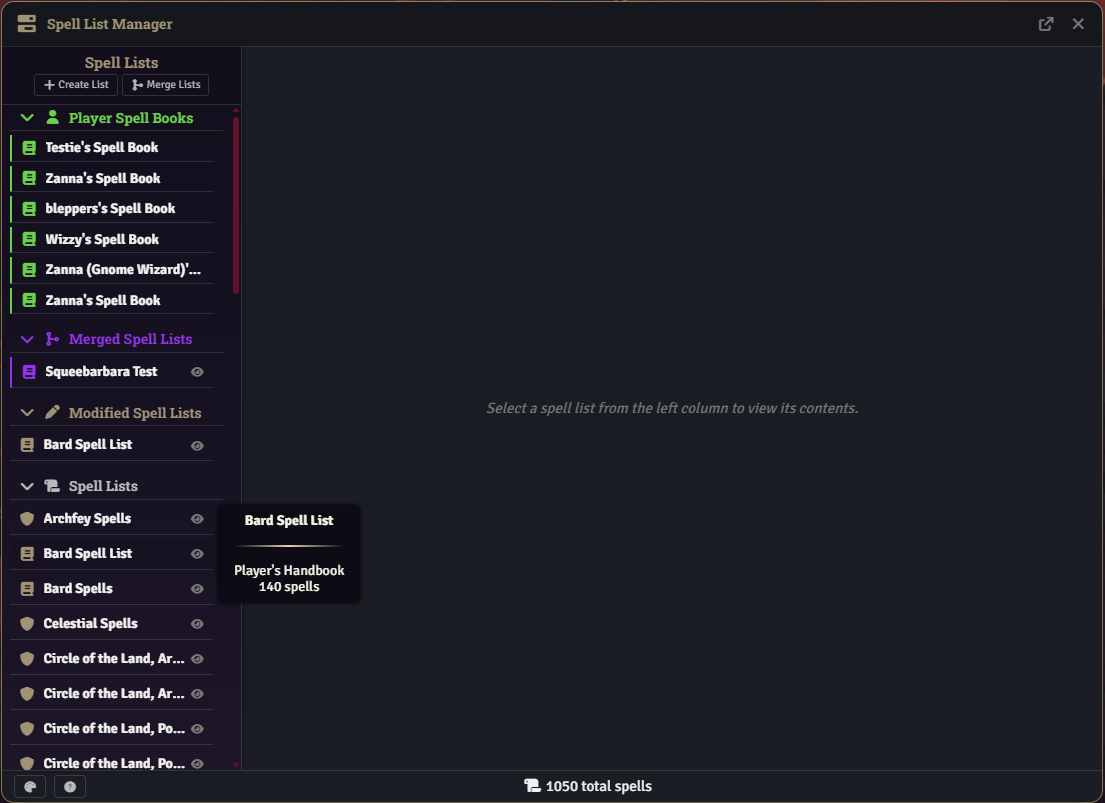
Open the Compendium sidebar tab and click Spell List Manager. GMs can also open it from the header of any Spell Book. See Spell List Manager Interface Overview.
3. Assign spell lists to classes
Section titled “3. Assign spell lists to classes”Open an actor’s Spell Book and click the gear icon in the sidebar to open Spell Book Settings. For each class, pick a Class Spell List and, optionally, a Subclass Spell List. See Class Rules.
Two prompts open the same dialog:
- When a character gains a spellcasting class with no list, you and the character’s owners receive a whispered Spellcasting Gained card. Its Assign Spell List button opens the dialog for you.
- A class tab with no list shows you an Assign a Spell List button.
The Add to Spell Registry checkbox in the Spell List Manager does not fill a Spell Book. It adds the list to the system’s spell list registry, which the Compendium Browser and other modules read.
To build or edit lists, see Creating New Spell Lists and Modifying Existing Spell Lists.
4. Review settings (optional)
Section titled “4. Review settings (optional)”No settings need changing to get started. See Installation and Settings.
5. Players open their Spell Book
Section titled “5. Players open their Spell Book”Players click the Spell Book button on their character sheet. See Player Quick Start.
Spell copy approval
Section titled “Spell copy approval”With GM Approval for Spell Copying enabled, a player’s paid spell copy becomes a pending request on the character. A GM receives a dialog naming the character, the spell, the gold cost, and the copying time.
- Approve copies the spell and advances world time by the copying time.
- Checking Skip Time before approving copies the spell without advancing time.
- Deny clears the request.
The requesting player is whispered the outcome. A character can hold one pending request at a time. A request made while no GM is connected is shown to the next GM who logs in.
Troubleshooting
Section titled “Troubleshooting”Generate a diagnostic report with the 3DS:ATLAS Troubleshooter.