
Getting Started
Glyph requires Foundry v14 or newer and the 3DS:ATLAS library module.
Install
Section titled “Install”From Foundry
Section titled “From Foundry”- Open Foundry’s Setup screen
- Go to Add-on Modules
- Click Install Module
- Search for “Glyph”
- Click Install
Manual installation
Section titled “Manual installation”Paste this manifest URL in the Install Module dialog:
https://github.com/Sayshal/glyph/releases/latest/download/module.jsonEnable Glyph and 3DS:ATLAS in your world under Settings > Module Management.
Build your first trigger
Section titled “Build your first trigger”Glyph works on Regions. Select or draw a Region, open its configuration sheet, and go to the Behaviors tab.
- Click Add Behavior and set its type to Trigger.
- On the General tab, pick one or more Events or Additional Events to subscribe to. The events page lists what fires a trigger and what data each event carries.
- Switch to the Program tab, select the event’s handler, and click Add to build out the actions that run. See Program Editor for how the handler tree works.
- Save the behavior.
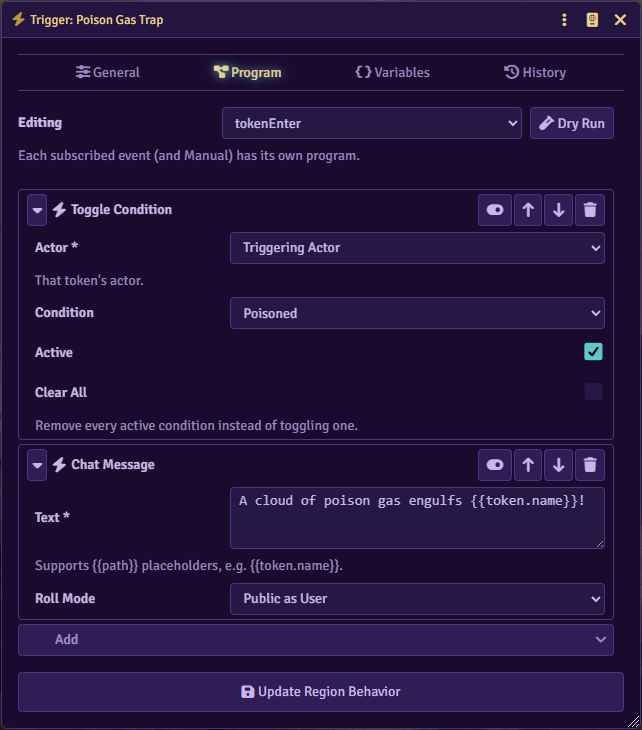
Trigger Configuration covers a trigger’s gates, Variables, and History. Actions lists everything a program can do.
The primary GM has to be connected
Section titled “The primary GM has to be connected”Every trigger runs on the Primary GM’s client. If no GM is connected, nothing runs, including triggers a player’s action would otherwise fire.
Starting from something built
Section titled “Starting from something built”Rather than building a program from nothing, open Recipes from the Region config’s Behaviors header for ready-made trigger setups, or apply a saved template from a trigger’s General tab. See Recipes and Templates.
If you’re moving over from Monk’s Active Tile Triggers, see Importing from MATT instead of rebuilding your tiles by hand.